Garmin 920XT Quick Release Installation
A step by step guide for the 920XT's quick release
With the launch of the Garmin 920XT came a new quick release set, this, because the watch got a new design and didn’t fit the old parts. Here’s how to install your quick release in a couple of simple steps.
Firstly, the quick release set comes with a set of screws, two watch plates, two bike mounts, various rubber bands and two little torx screwdrivers. So, to be able to mount your 920XT on two different bikes and your arm, you need nothing else. Nothing but the quick release set.
I’d recommend getting a small cup or other small parts holder, as the end parts of the screws are, well, tiny. Easy to lose and if you lost just one, you need to sweet talk Garmin to get a new one I guess.
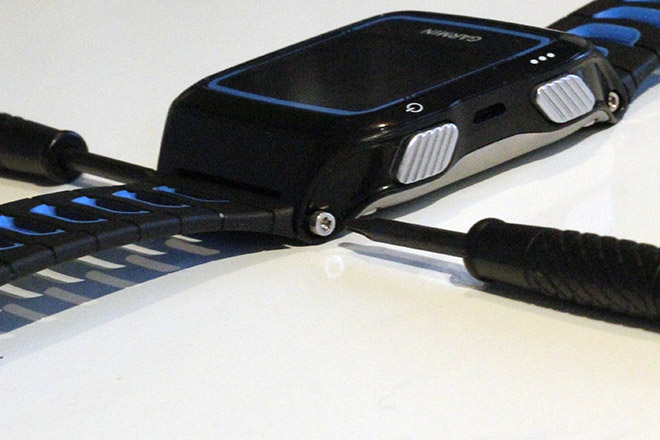
Undo the screws from the watch.
The first step is to undo the screws from the watch, put the little ends in your tiny bits holder so you don’t lose them. Remember, lefty loosy, righty tighty. You want to hold on to both little screwdrivers, it’s a bit fiddling when alone, but you should be able to do it.
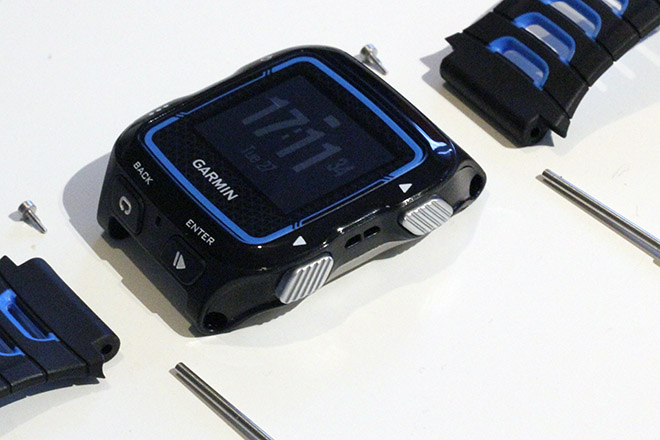
This is what it looks like when undone.
The next step is to take the arm wrist plate and mount it between the two pieces you just took off your watch:
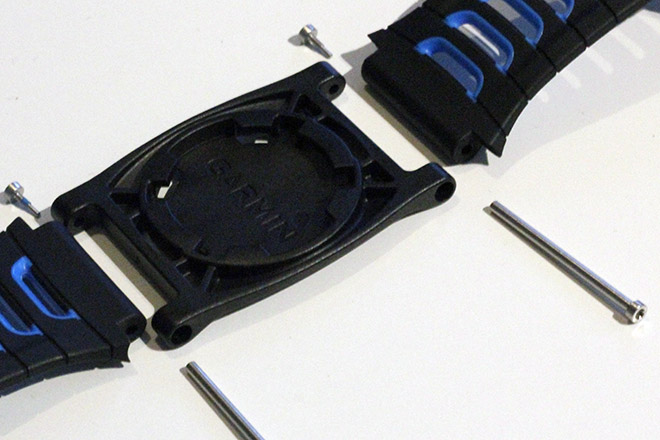
Put the screws back, in the mounting plate.
Then you will get this: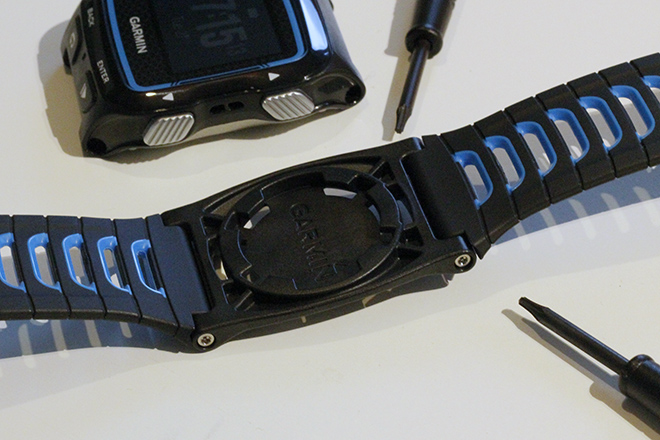
Now it’s time to install the backplate on your watch.
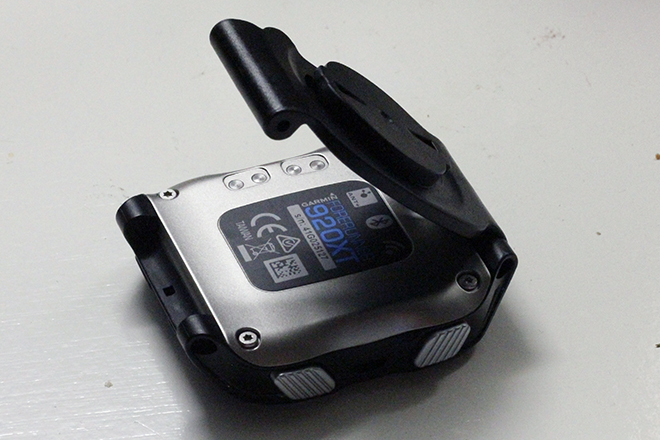
The back plate fits perfectly on your 920XT
Use the new screws you got in the bundle to attach the quick mount plate to the watch itself. Make sure you do not cover your data and charging connectors!
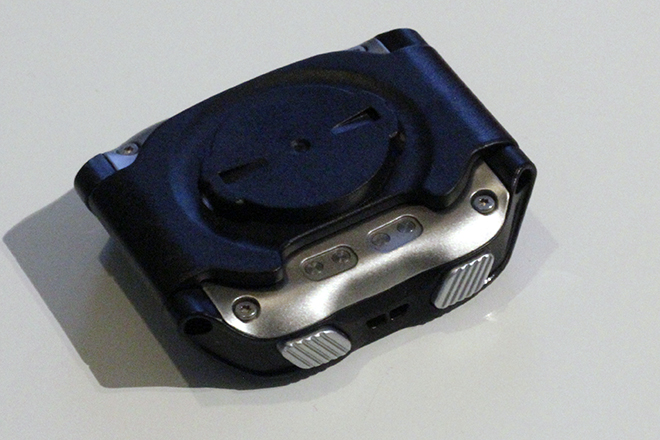
The data and charging connectors should NOT be covered!
When this is done, you’re almost ready, you can install your watch back on the strap with a simple turn, the first couple of times this may be a bit hard, but you can put the strap on your wrist to make it easier.
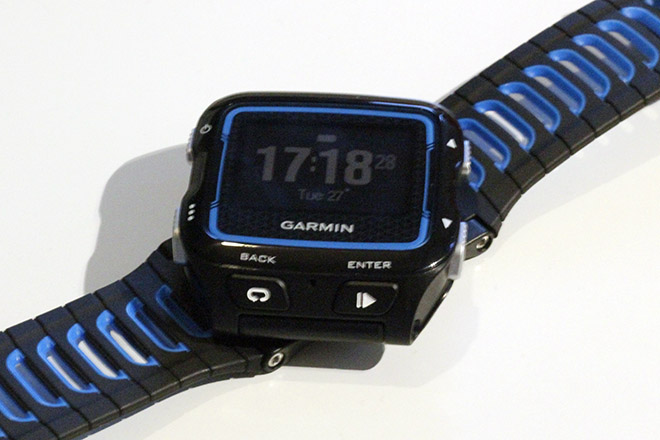
Plate your watch at a 90° angle and twist it to align.
From the side you can see that the watch has become a bit bulkier:
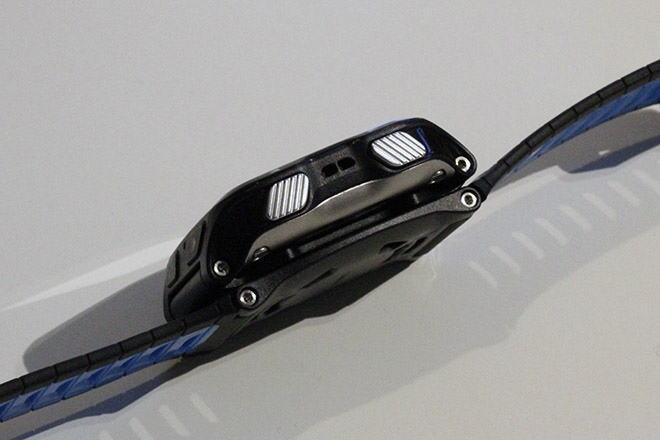
Close inspection reveals the two extra plates under the watch itself.
And on your wrist it’s a big bigger too:
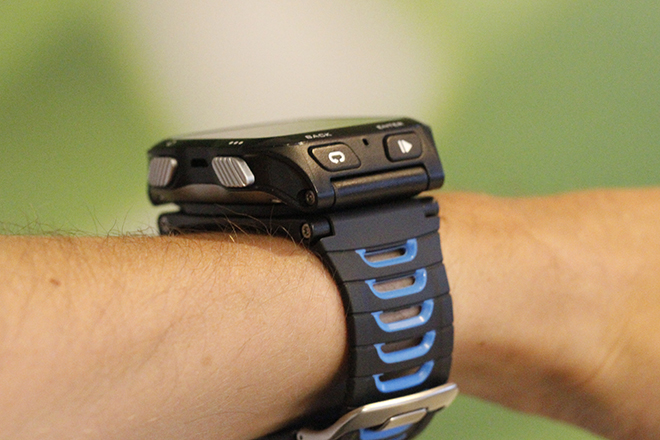
A Garmin 920XT with quick release on my wrist.
The next step is to install the mounting plate on your bike, you can install the bike mount anywhere you want, I choose to install it on this pretty short stem, but you can also use your steer. Aerobars are a bit hard as they are usually too small to give enough grip. In any case, make sure the little round rubber is under the plastic piece, they fit perfectly in only one possible way. Also make sure the openings are sideways, otherwise your watch will end up sideways.
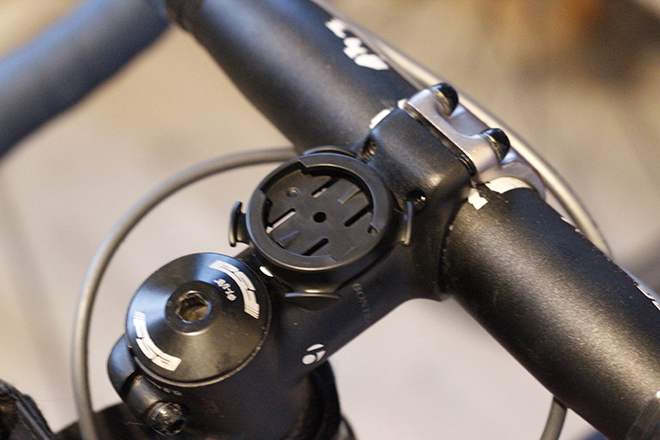
A 920XT mount plate placed on the stem.
Then add two rubber bands as you see fit, for this one, I used two of the larger ones, and crossed them underneath.
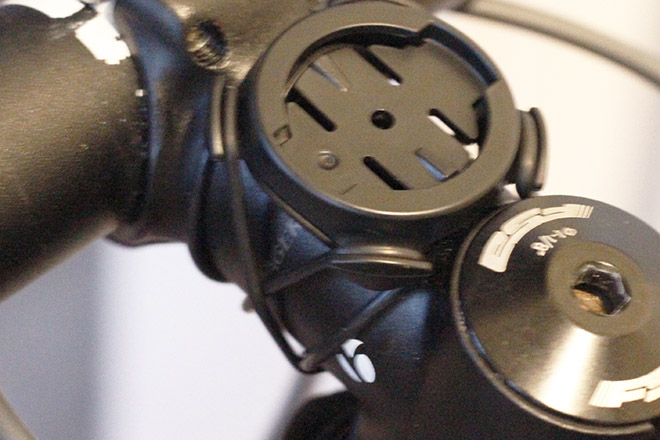
The 920XT mount installed on the stem.
All that is left is to slip on the watch!
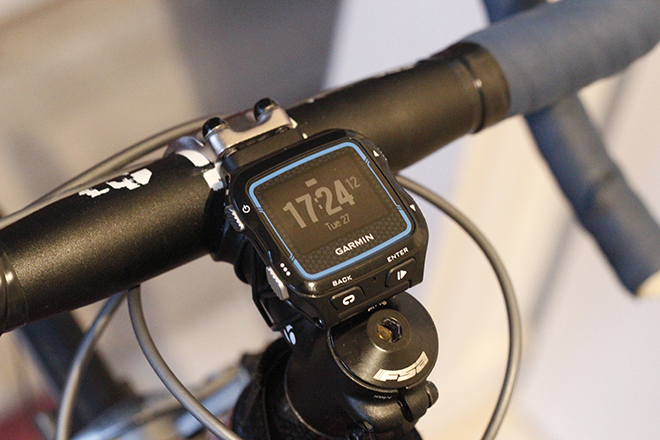
Voila! Your Garmin 920XT is on your bike!
You’re all done. You can install the second mount plate on your other bike!
The quick release set is available for $21 on Amazon.

Leave a comment